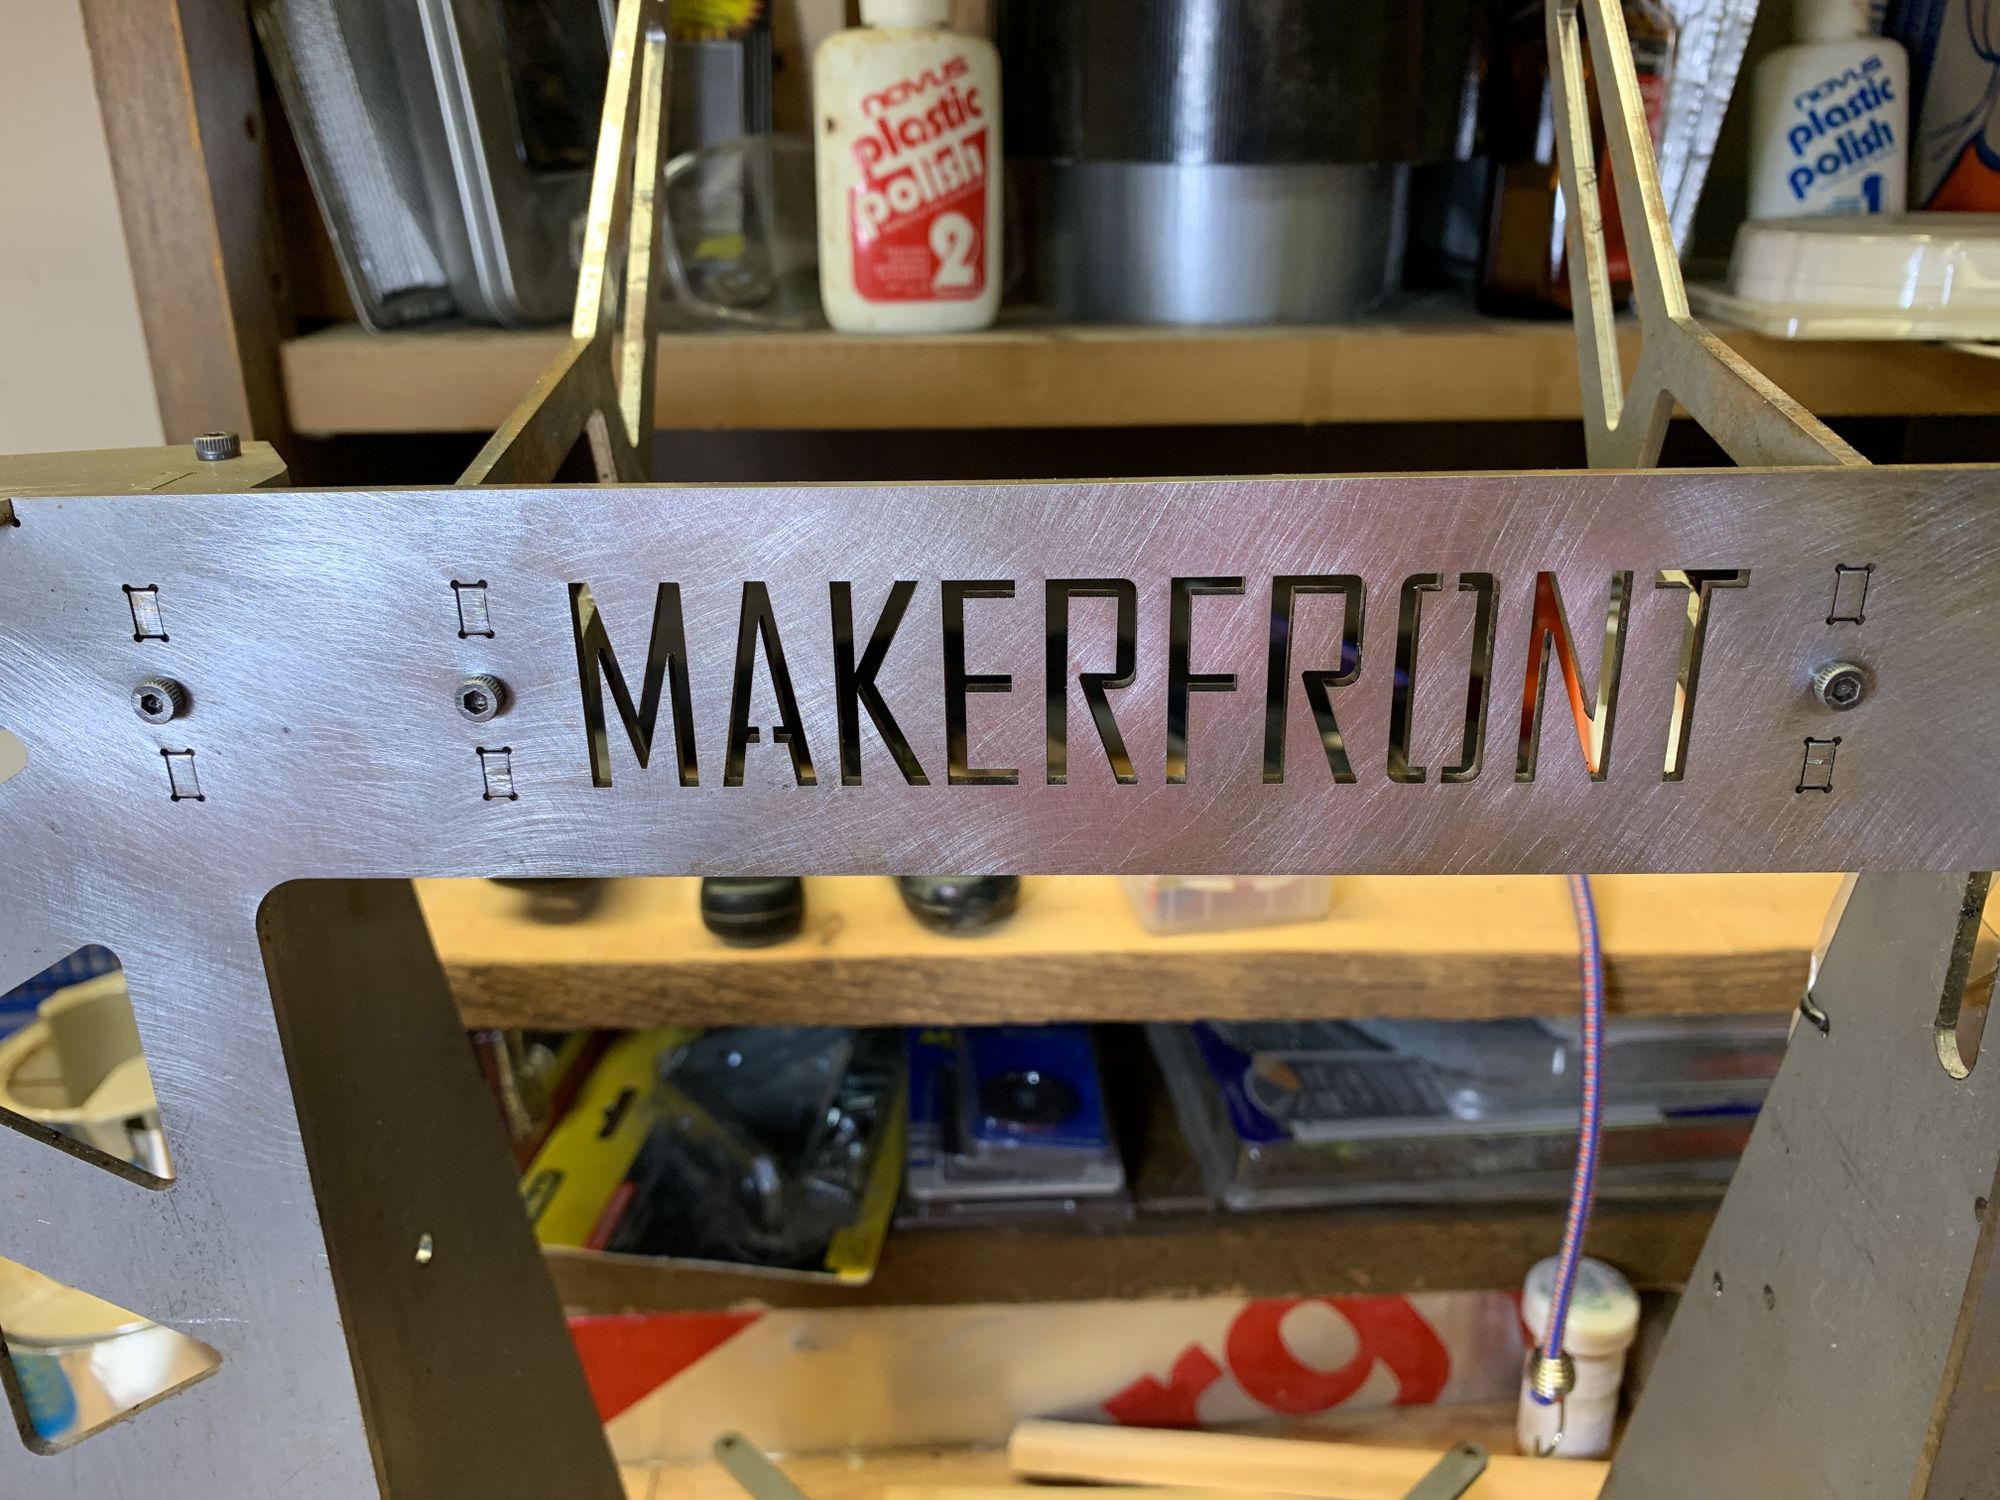
Makerfront Rebuild Part 1: Frame Job

Makerfront was a company in Altamont NY that made and sold 3D printers in the twenty-teens. They made a number of printer with laser-cut acrylic frames in their early days but gained some real attention with printers based on the P3Steel design.
We have a few of them at Tech Valley Center of Gravity which for a variety of reasons have fallen into disuse and disrepair. They’re nice machines with impressive frames, but not all the components attached to the frames were the best, especially compared to what’s available today. As a result there have been some complaints about the reliability and how much effort it took to keep them performing. When I saw that one was being taken apart to reuse some parts I asked our 3D Printing Zone Coordinator if I could take the frame and rebuild it.
My intent was to take the components I had on my existing Chinese clone (it’s an Alunar M505, almost identical to an Anet A8) and transfer them to the Makerfront, essentially giving the printer a new frame while keeping everything else the same.
Part of my initial plan for the Makerfront was to build a frankenprinter, something I was calling “the Millennium Falcon of 3D printers”. I was planning to have a hodgepodge of mismatched parts souped up to make something that worked better than it looked. She may not look like much, but she’s got it where it counts, kid.
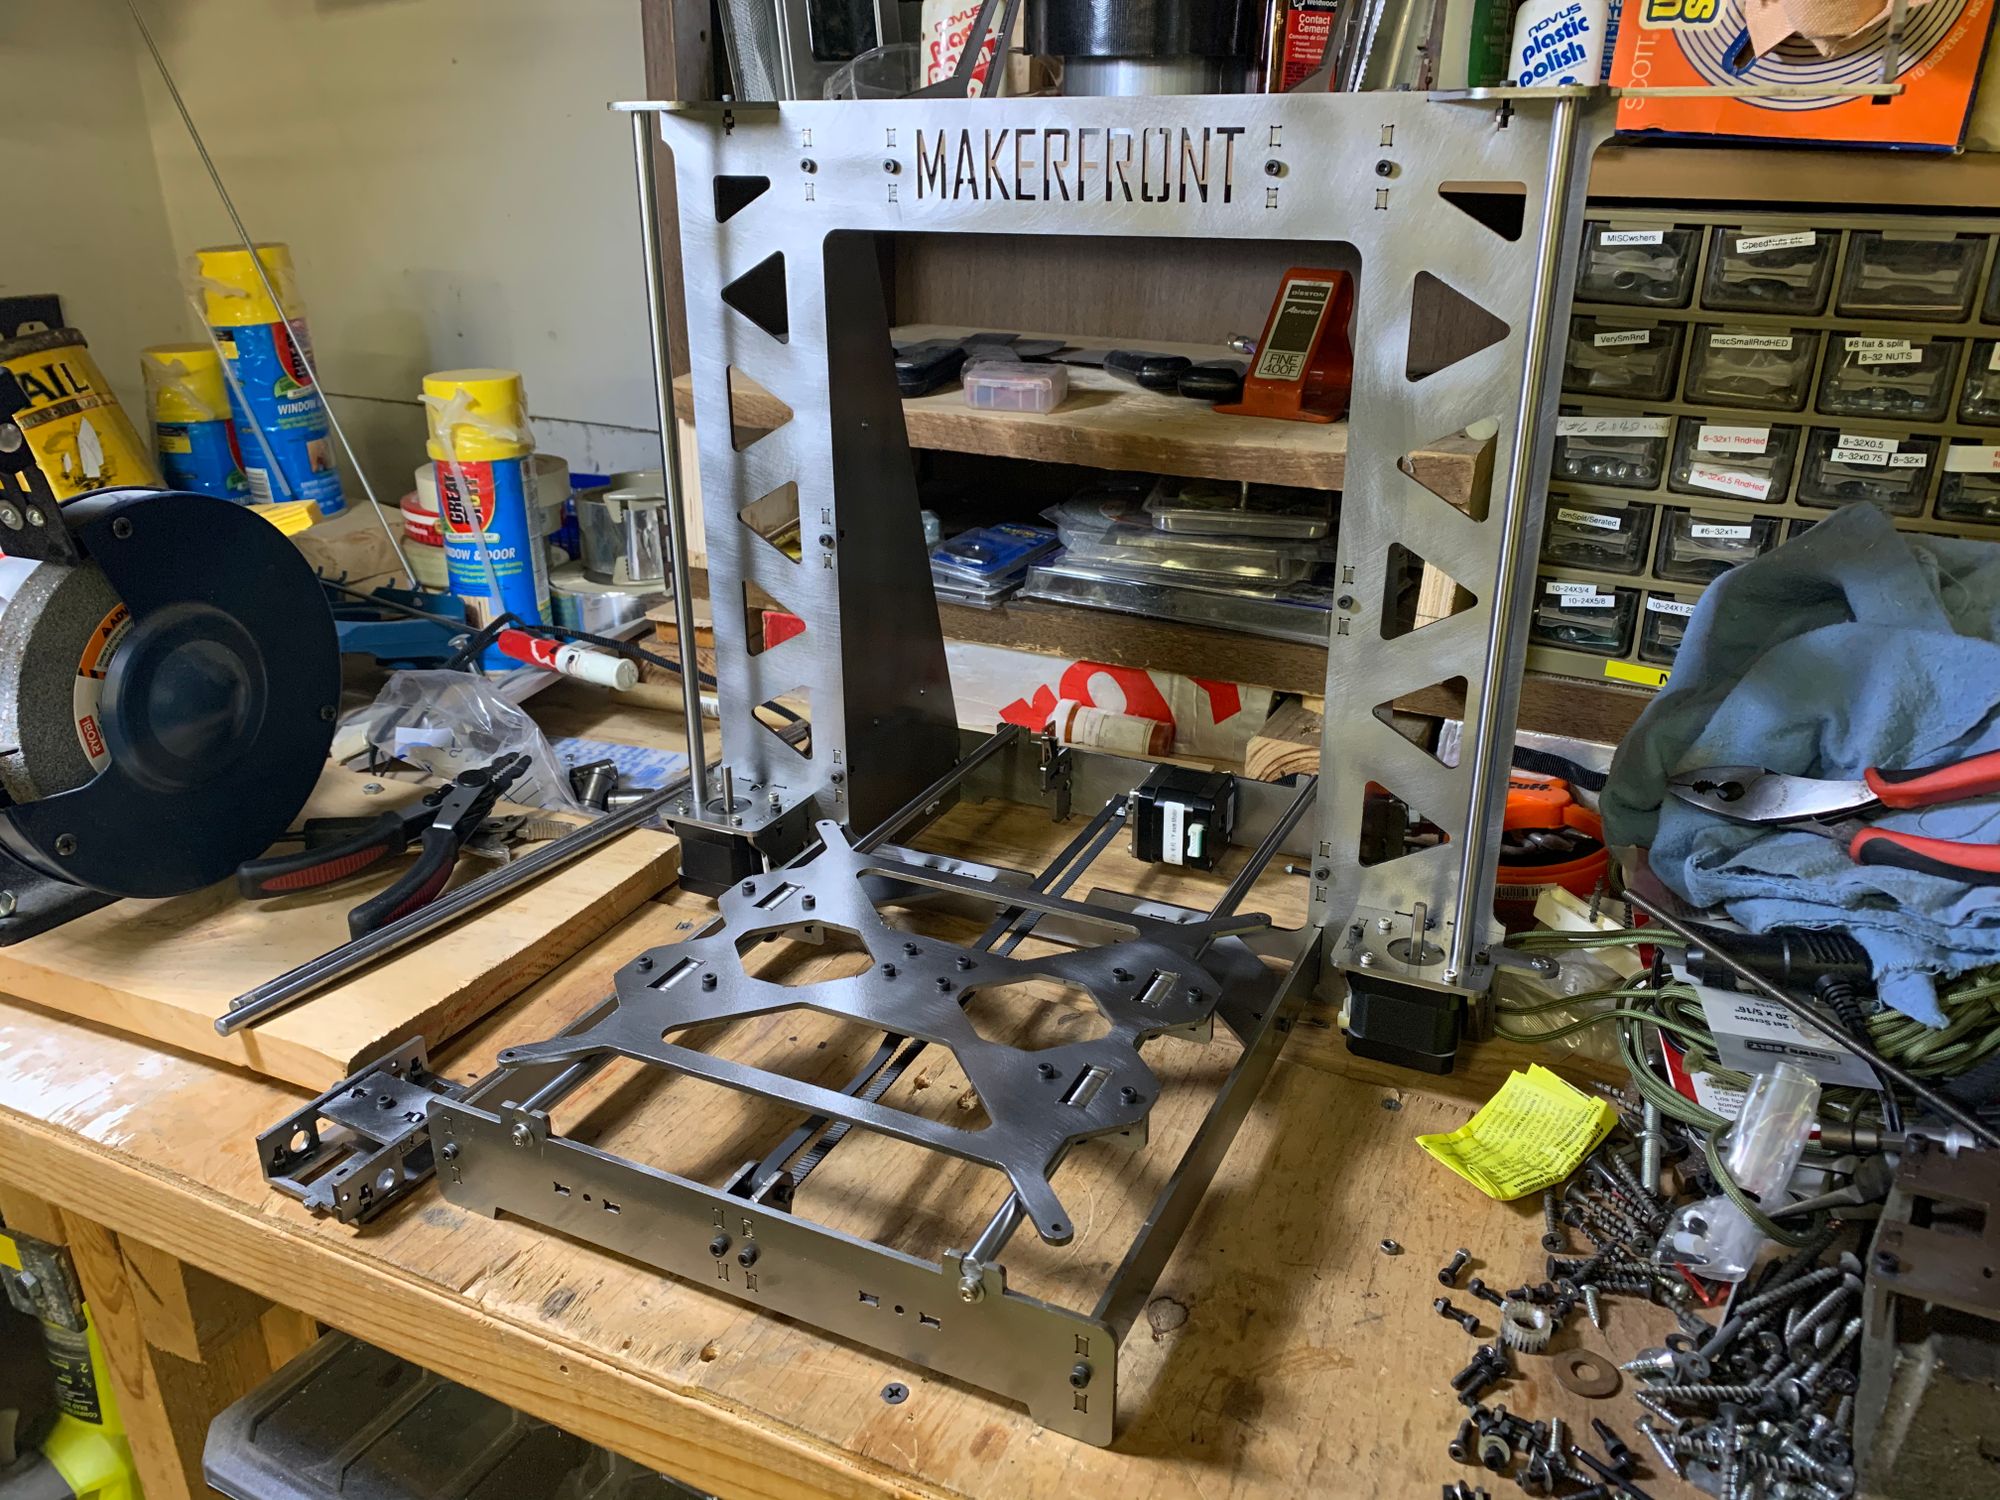
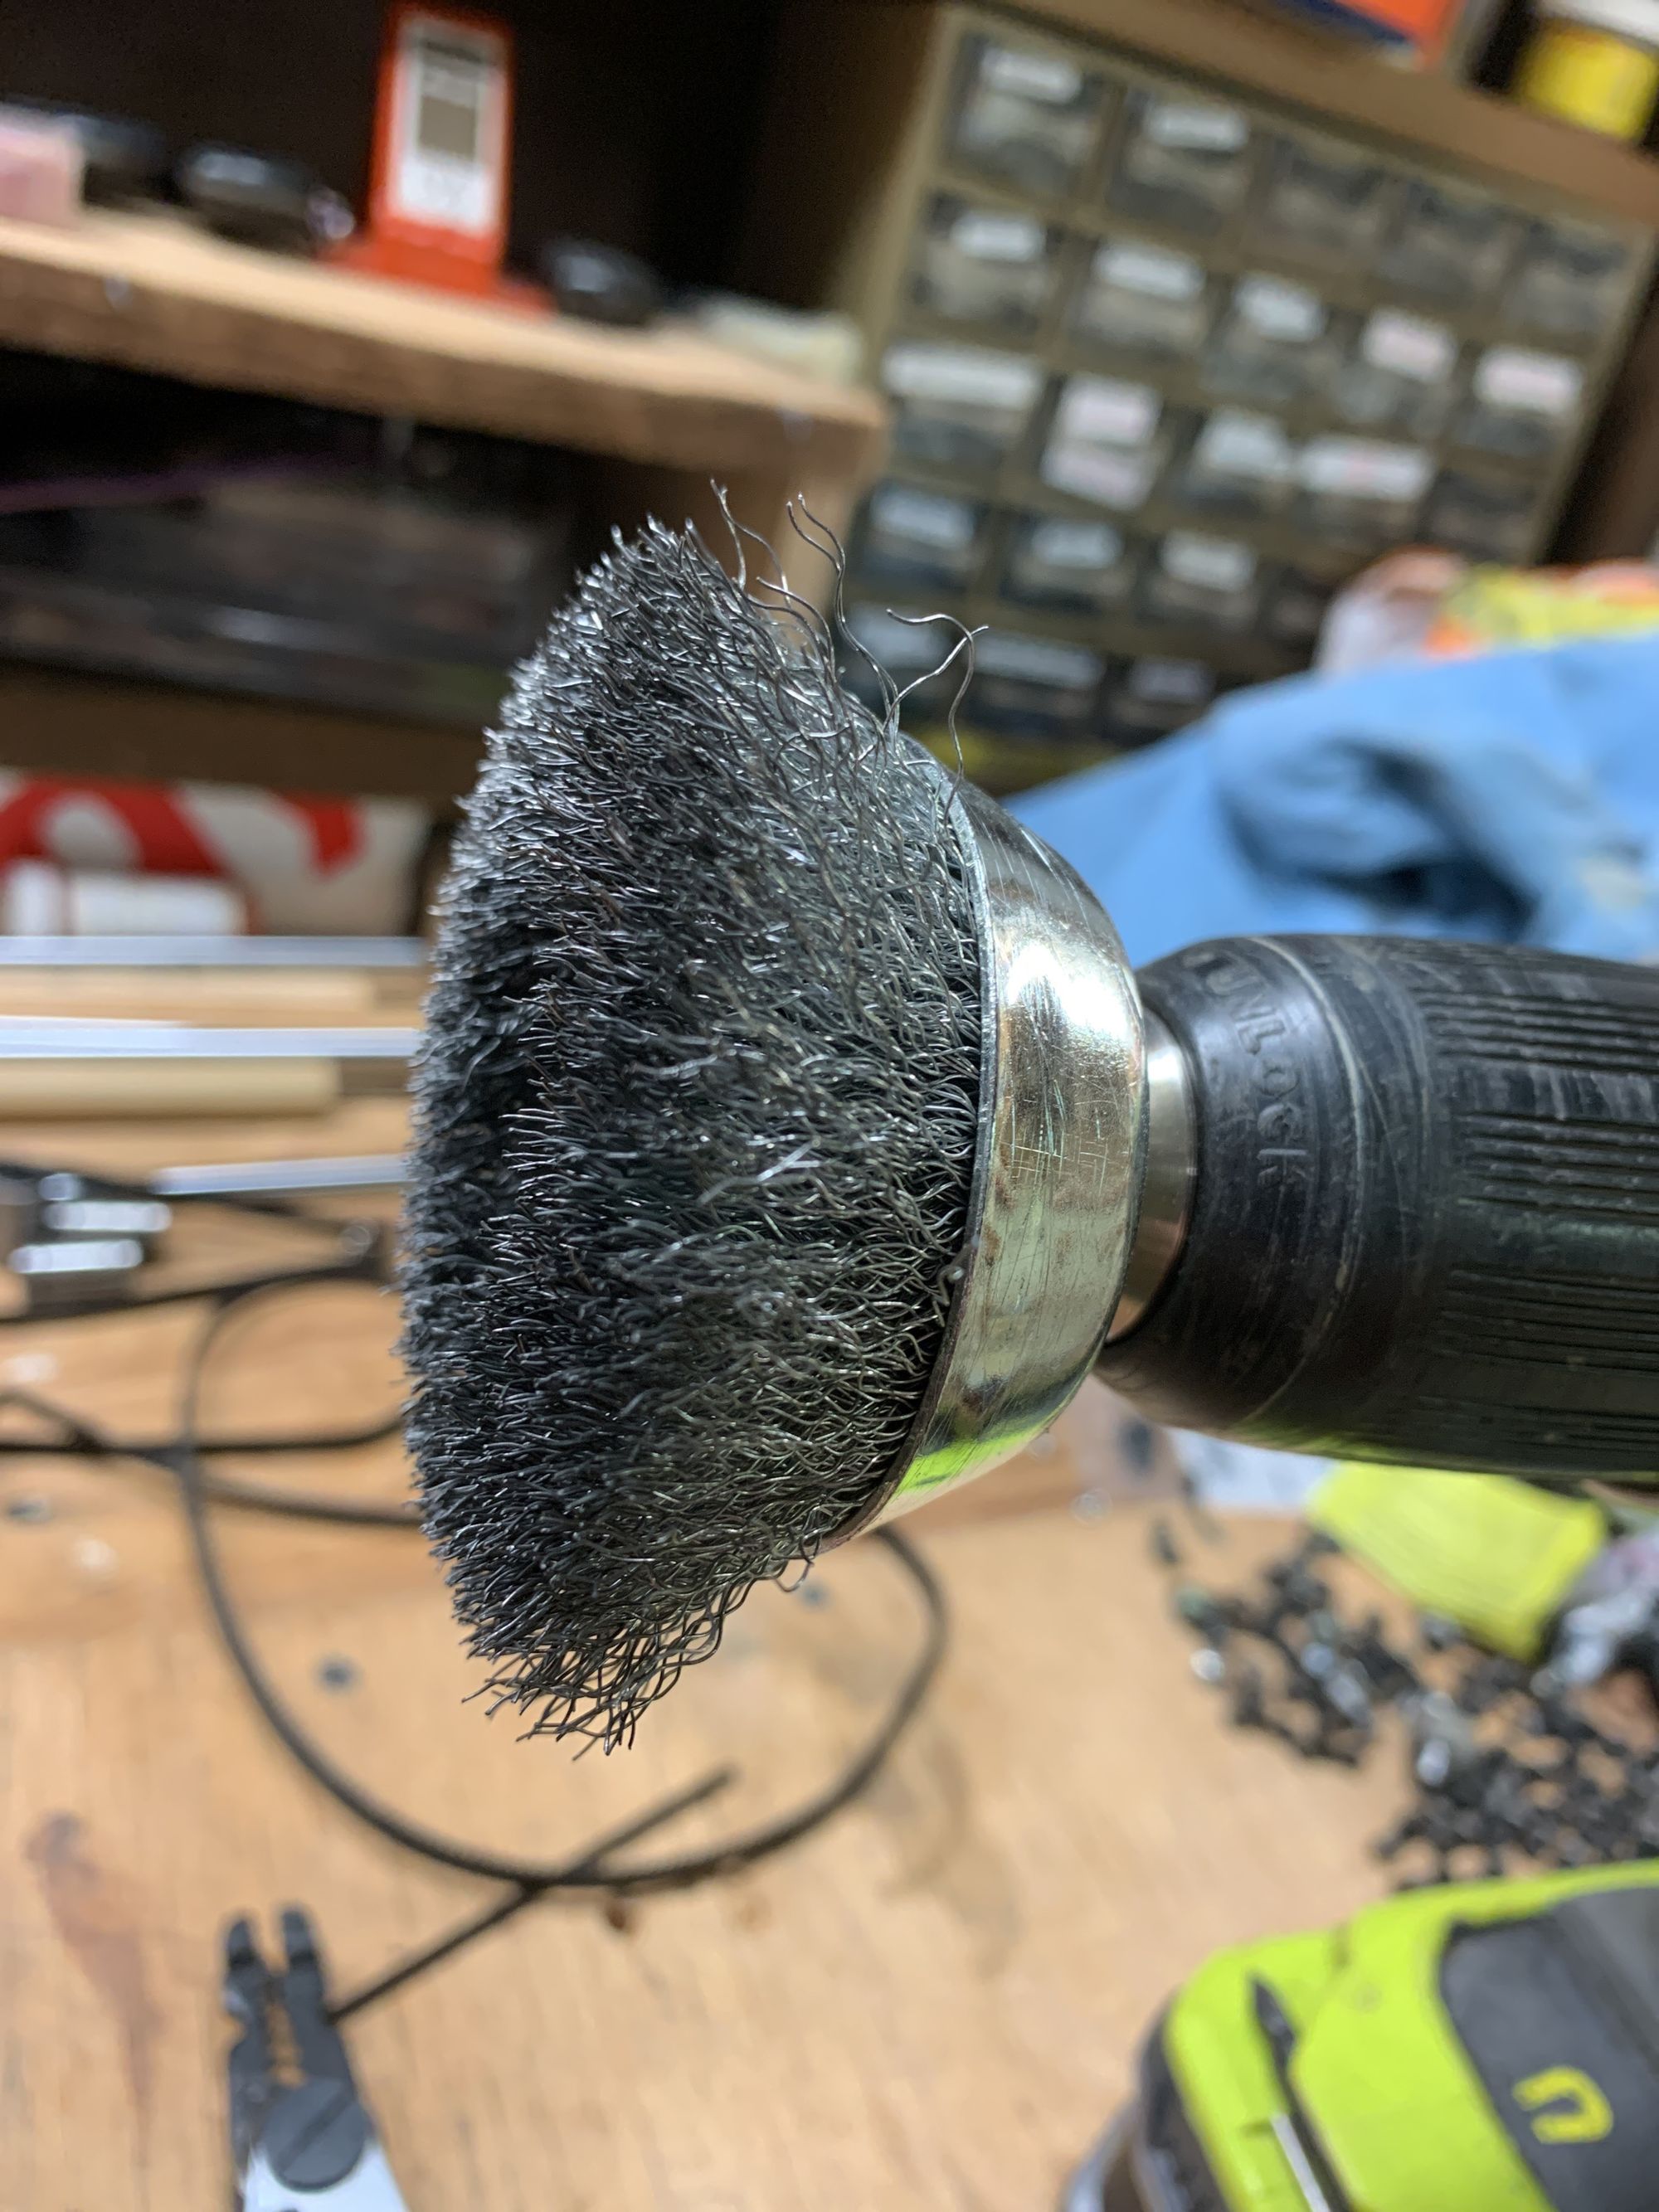
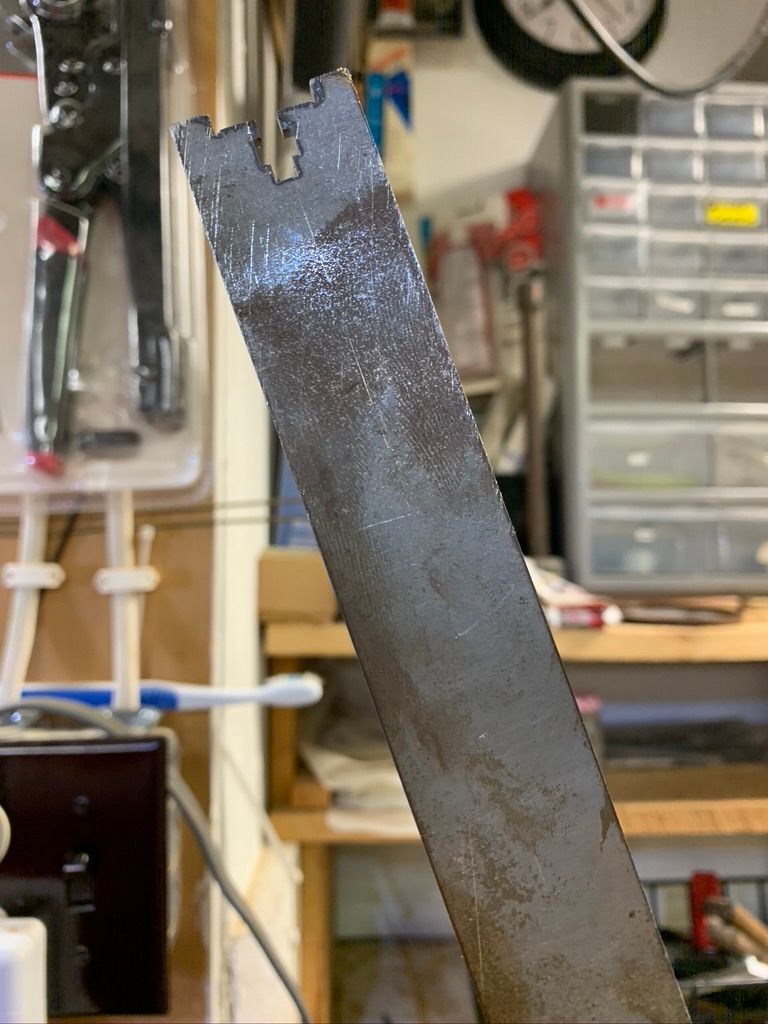
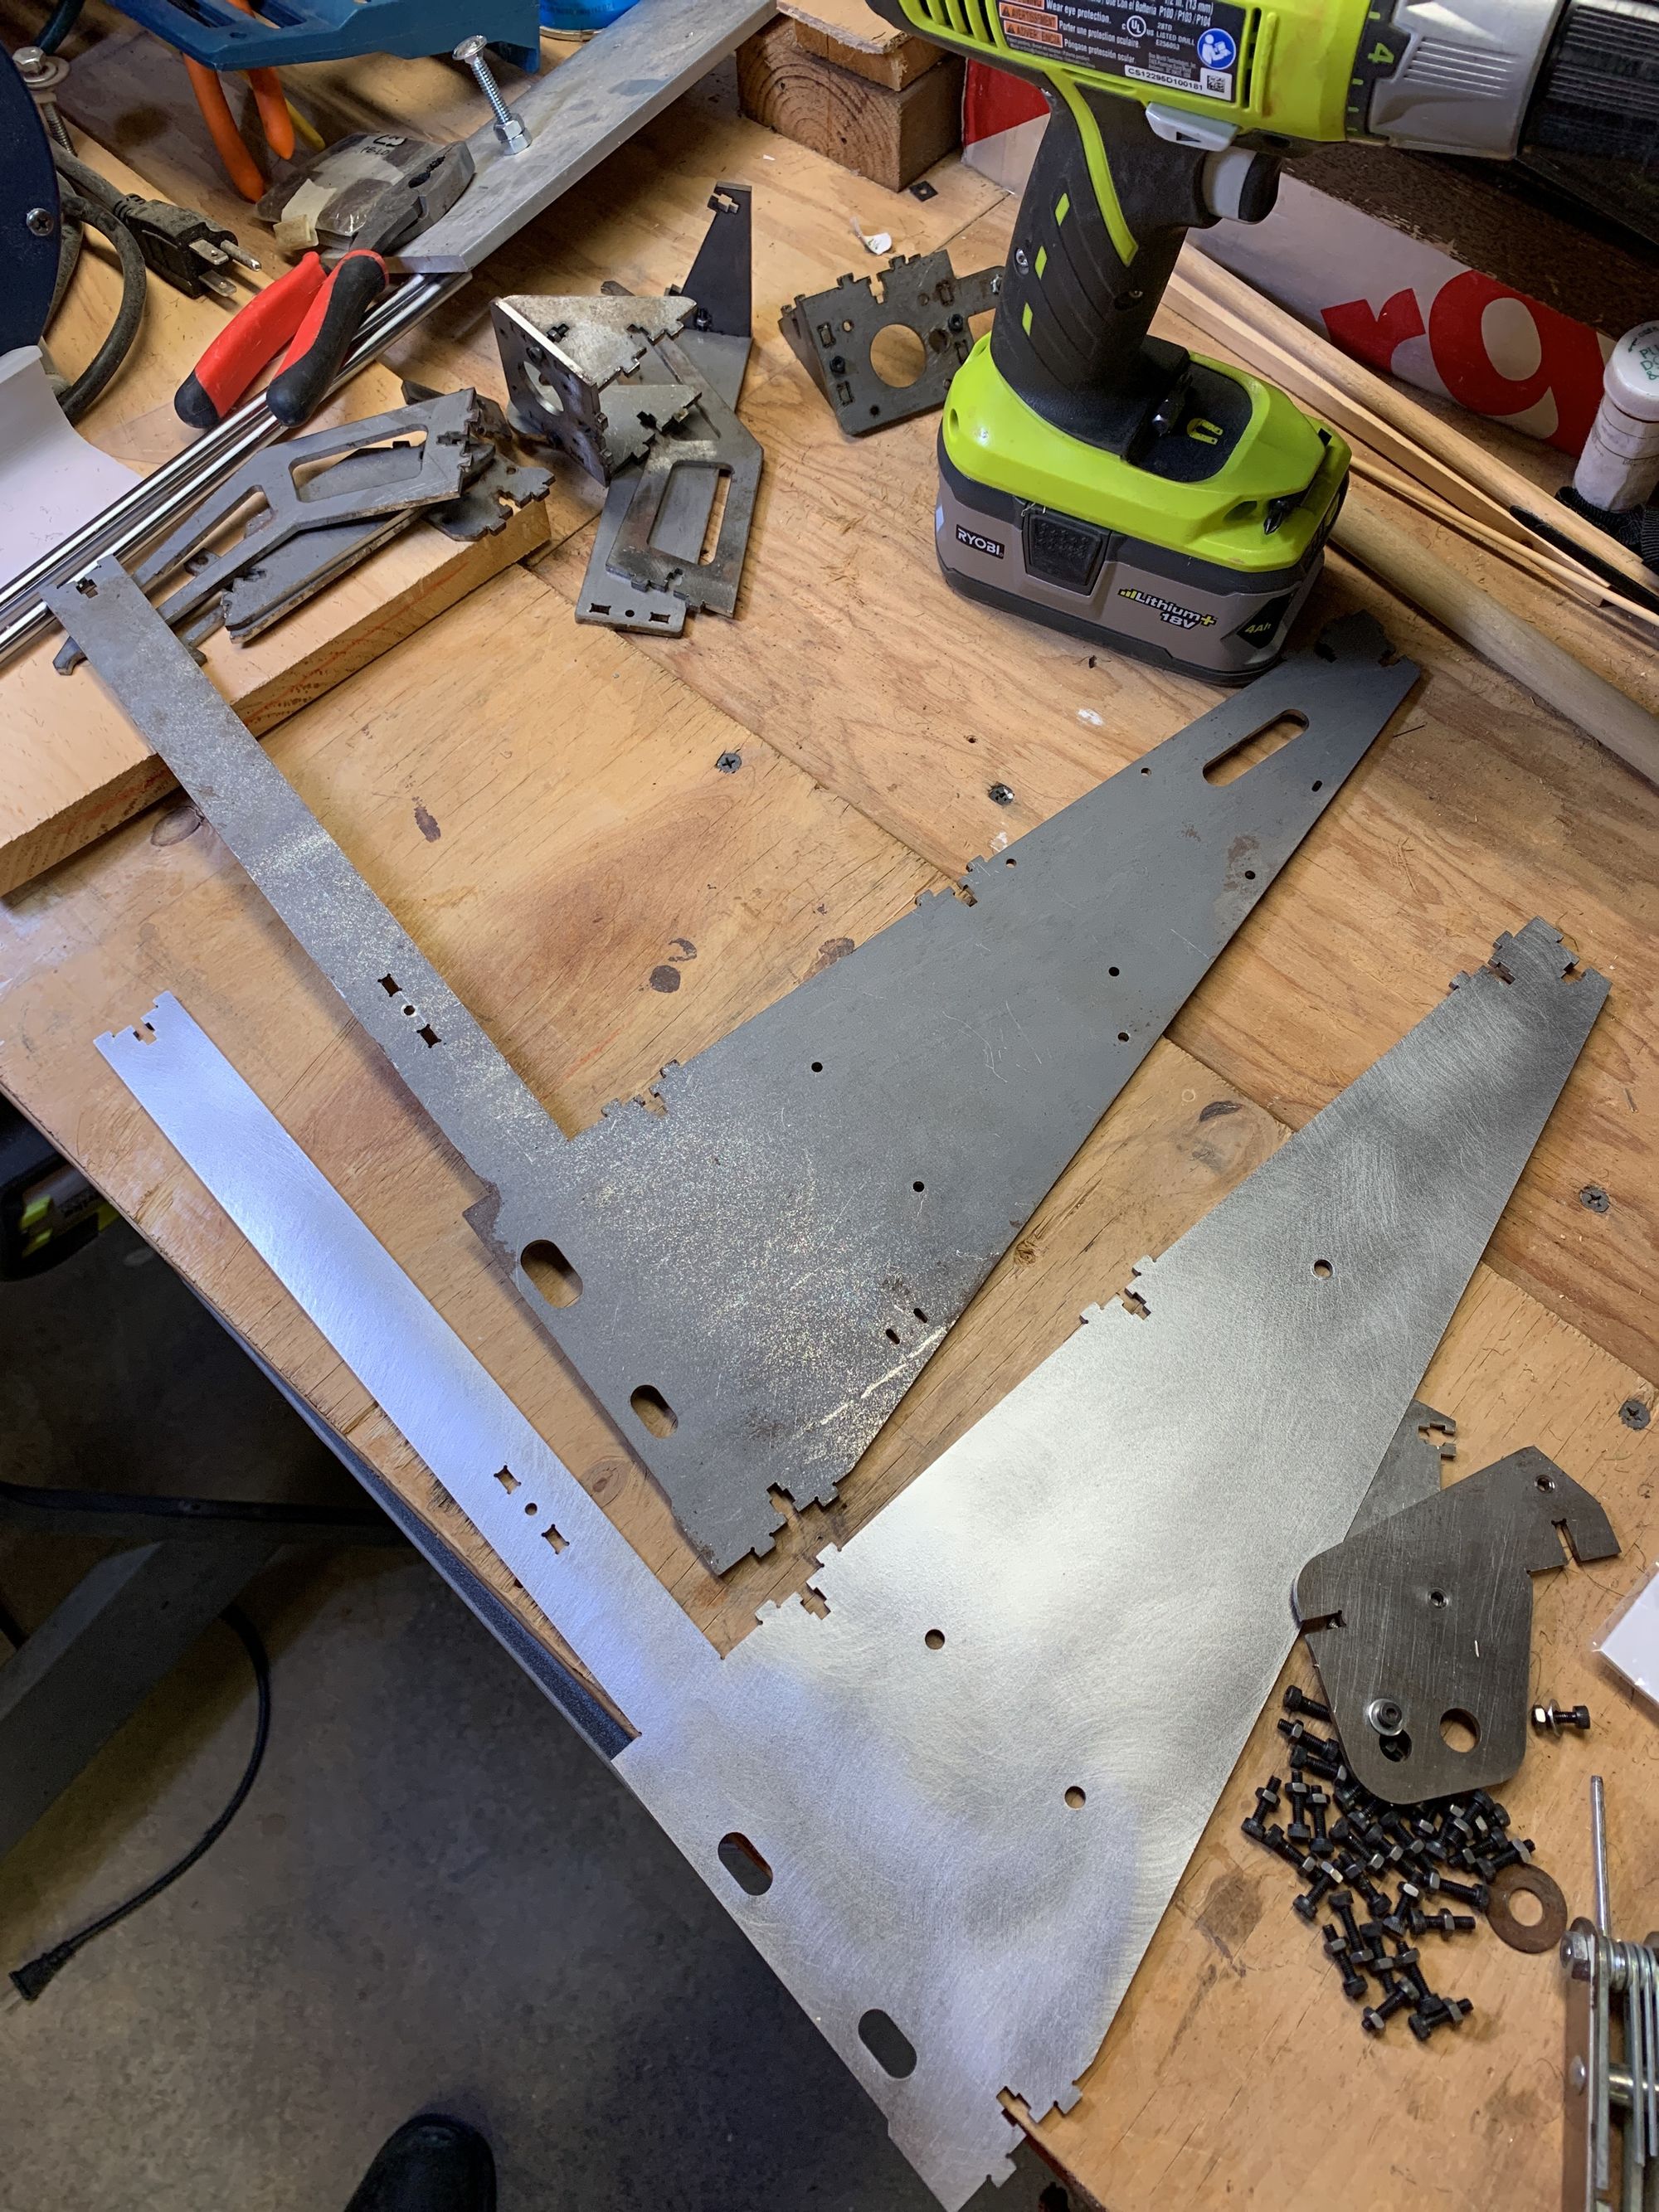
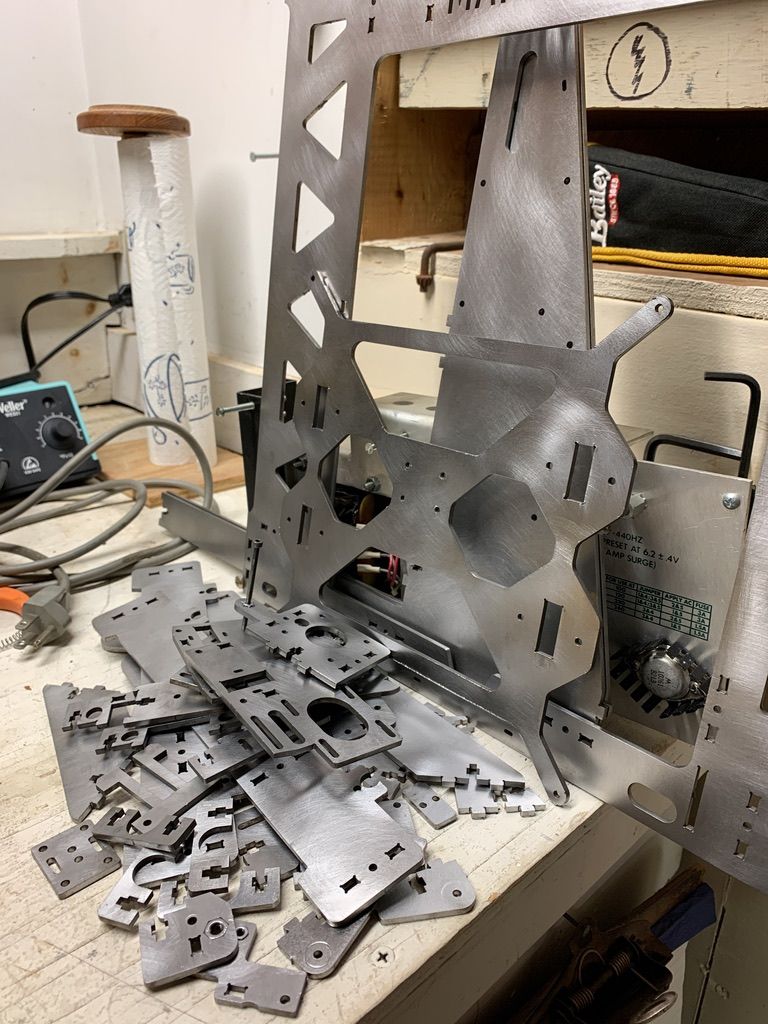
The steel frames are a great skeleton for a printer. They’re stiff, and the weight helps keep movements from disrupting an ongoing print. Sadly this unit collected some corrosion along the way. So the first thing that I did was use a wire cup brush on my drill to clean up the frame.
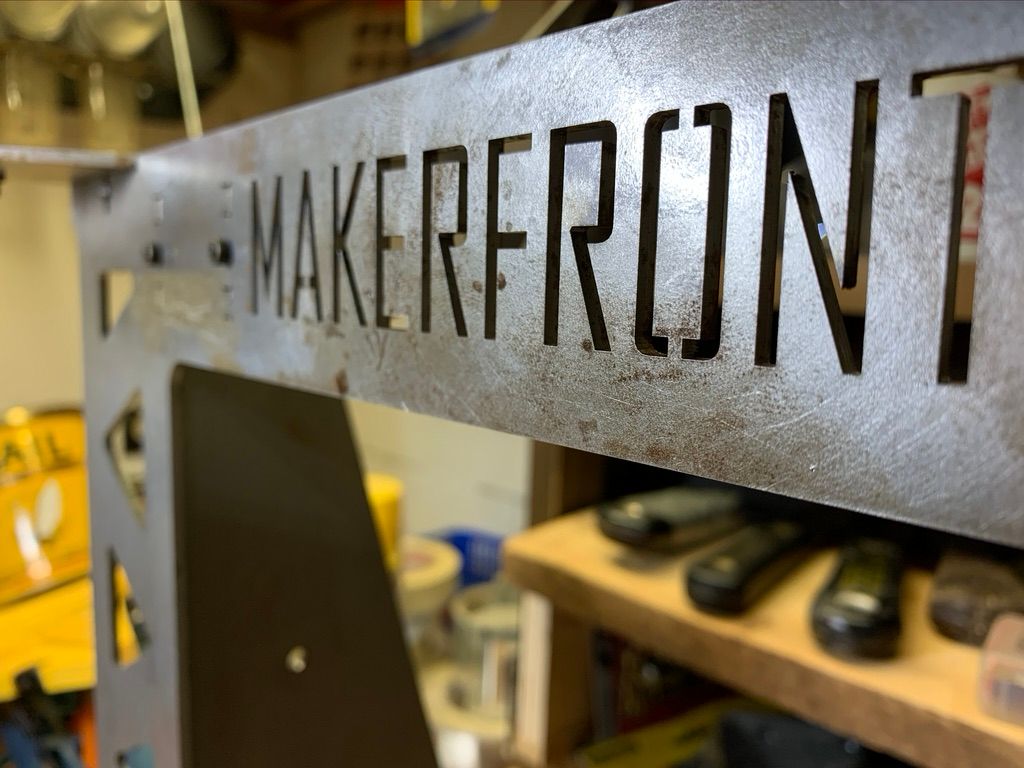

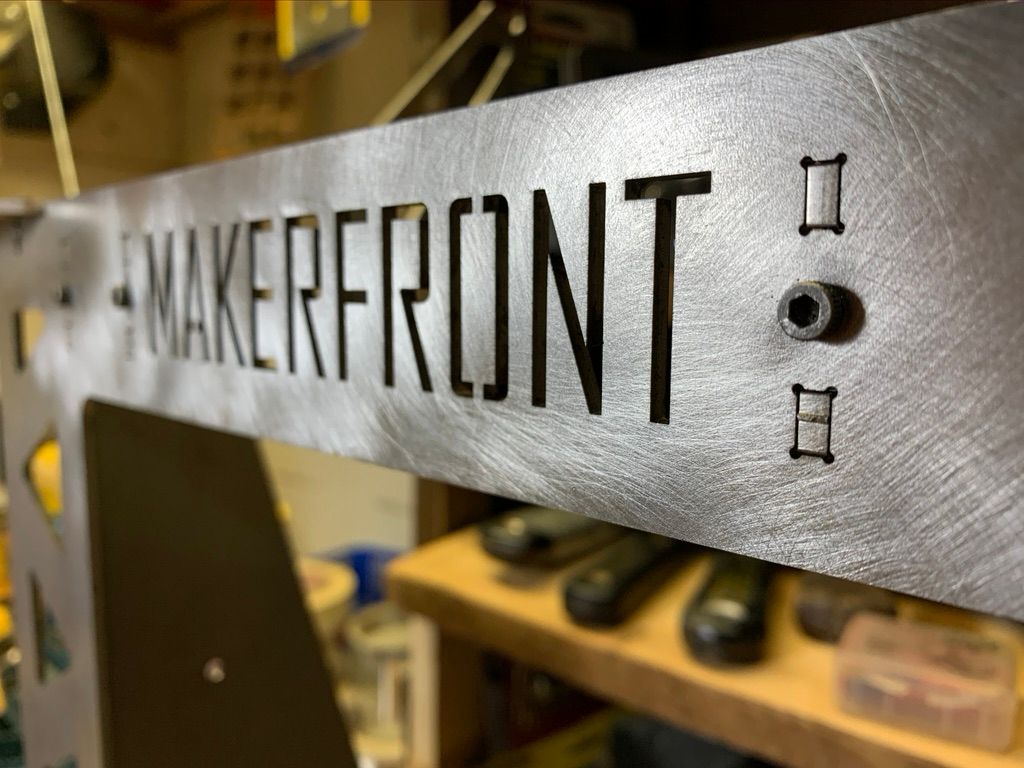
The initial results were pleasing. It looked like it was being restored to its former glory. In fact, I think it was an improvement over the original finish. Whatever coating it had wasn’t keeping it from rusting so I didn't feel I needed to preserve it. No doubt someone out there will be sad or angry that I ruined the stock finish but the finish was already pretty ruined. Once I got going it became clear that I would have to buff all of the surfaces of all of the pieces. For that to happen it had to come completely apart.
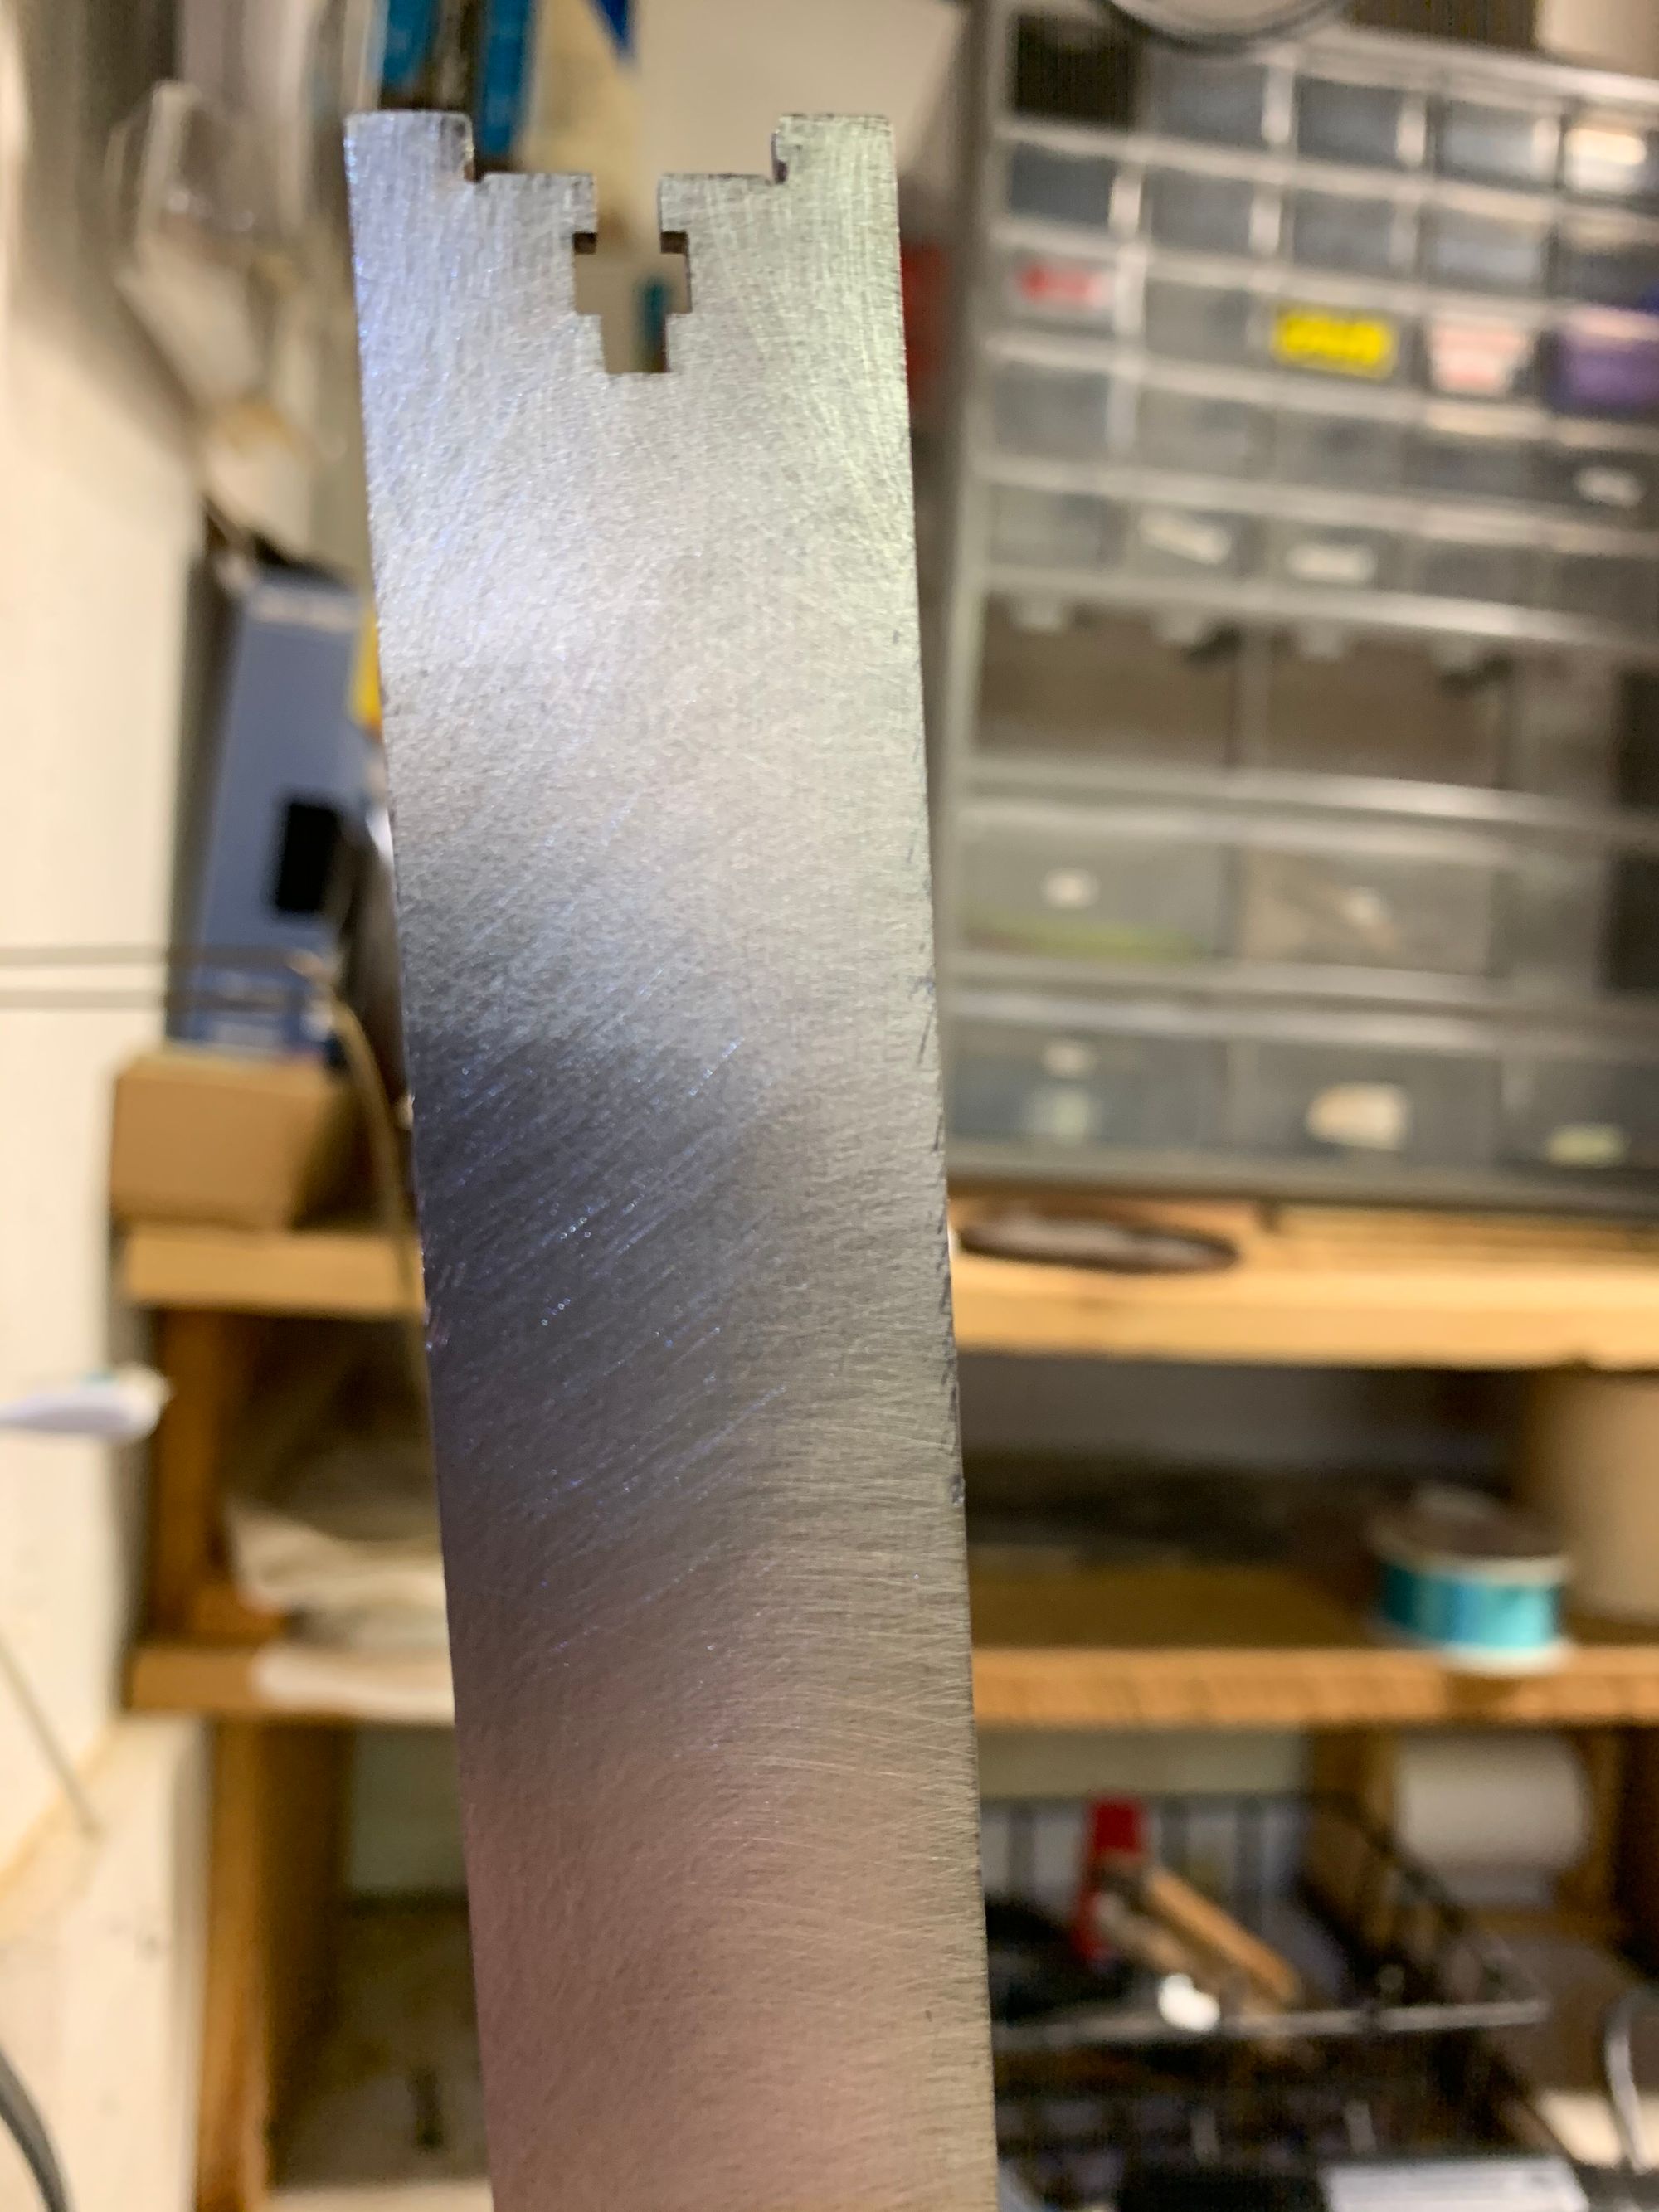
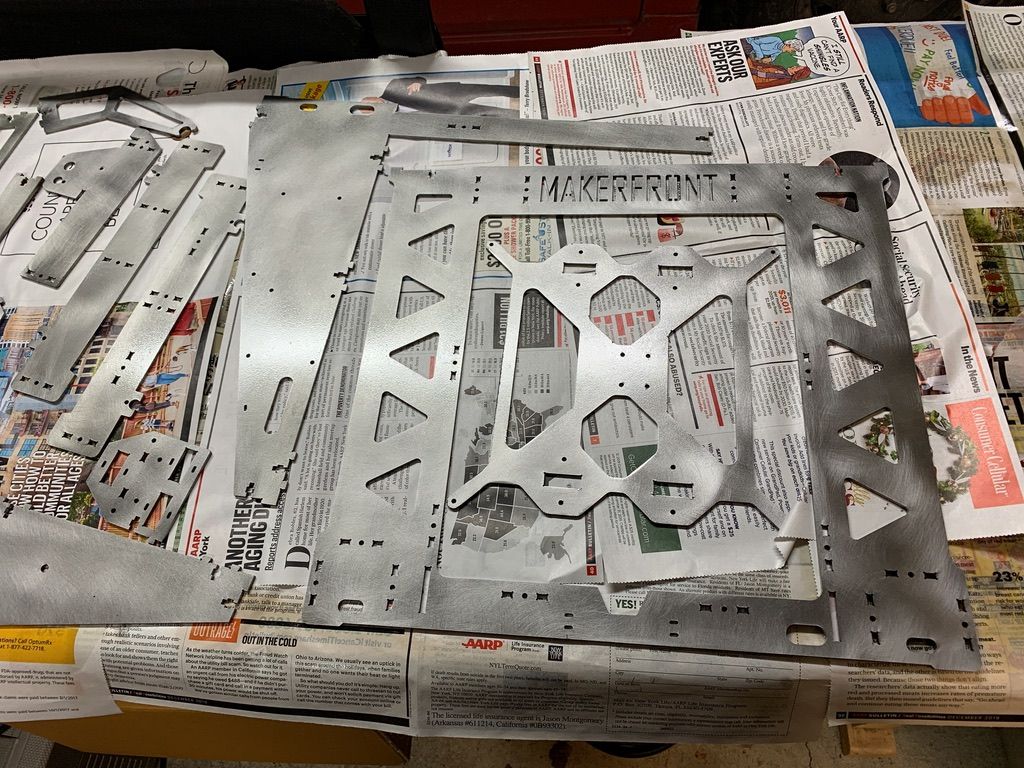
Once the pieces had all been brushed I applied a light clearcoat to protect the metal. The brushed finish is thousands of scratches, and that means more surface area that where the air can corrode the metal. It had rusted in the first place; without a coat to keep the air off it would rust much faster.
This frame had to be quite prone to rusting. The parts photos in the official assembly manual shows rusted frame parts.

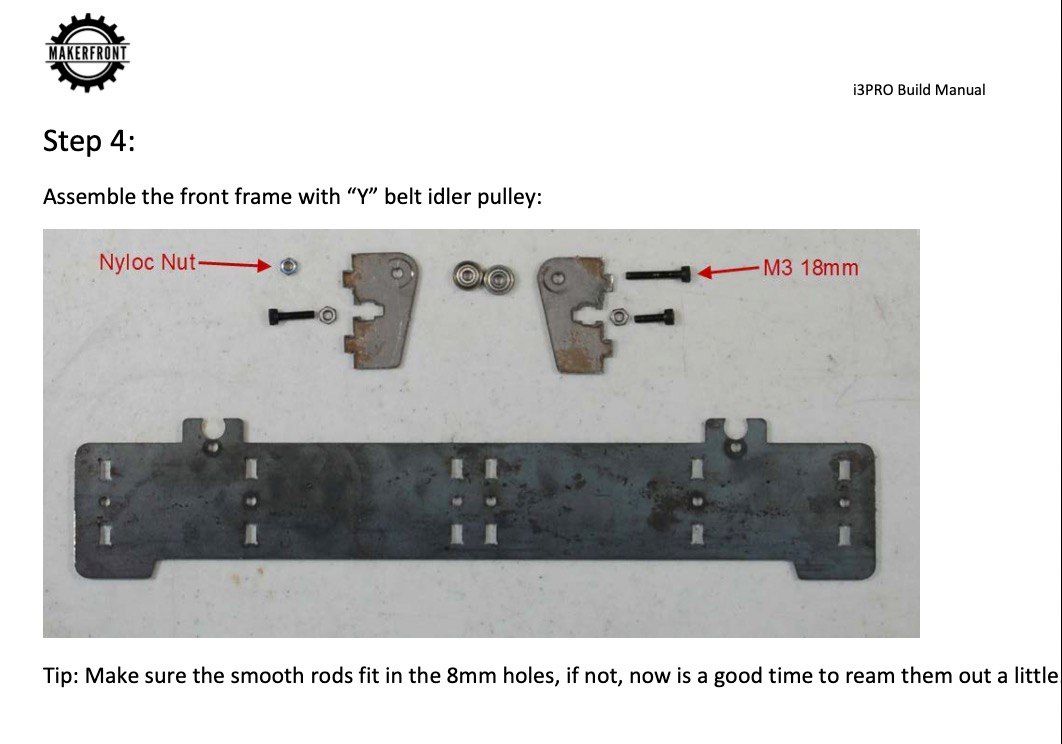
I can’t imagine using these photos anywhere they would represent my product. Makerfront is a small startup and they probably did the best they could with limited time, but I don’t think that I’d buy this kit if the materials were advertised to look like this.
Once the clearcoat dried completely, it was just a matter of reassembling the parts and admiring the shiny new 3D printer frame. By this time it had become clear that this was not going to be the Millennium Falcon of 3D printers. It was too pretty. I was going to have to go further and make this something that looked like it was built like it was supposed to have been, even if it wasn’t.
As I was putting the frame together I looked at the parts I intended to mount to the frame. Not all of my old parts were going to fit correctly on the new frame; not without some building and modifications. If I’m honest, I may have been looking for an excuse to buy some new parts, but mostly I had become more enthused about the project than I had been when I started. Not only was I having fun, I was making something that was going to look great, and I could make it really my own. What this all meant was making decisions about the parts I was going to put on the frame. And that's a topic for my next post.